Table of Contents
- Use a tripod
- Ask a stranger to take your photo (but read these tips first!)
- Find the right angle for your Instagram Photo
- Look for inspiration
- Show up early to crowded tourist spots
- Don’t look at the camera, but smile!
- Don’t be shy to take your own Instagram Photos
- Use the right camera
- Learn how to properly use your camera
- Learn how to edit your own photos
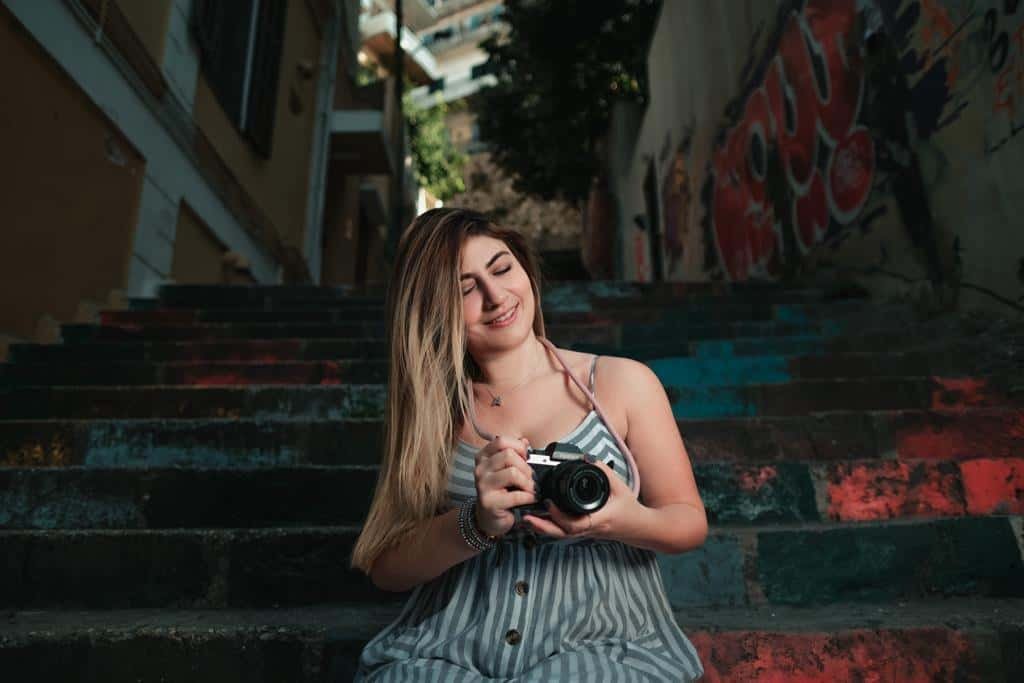
“Who takes your photos?” is the first question people ask me when they see my Instagram profile. Most of them are shocked to hear that I take my own travel photos when I’m traveling solo. I have to be honest, it took me some time and practice to figure out how to do this. In this guide, I’ll be sharing my best tips and tricks on how to take good Instagram photos of yourself.
Use a tripod
If you don’t already use a tripod, this is a game-changer! Even if you don’t own a camera, you can use a tripod for your phone.
Here’s why using a tripod to take your own travel photos is essential: a) There aren’t always people around to take photos of you b) Even if you give your camera to strangers, they don’t always capture the photo you want c) You can take your time setting up the exact angle you’re looking for d) If you set up the camera to take several photos of yourself, the pictures usually look more natural.
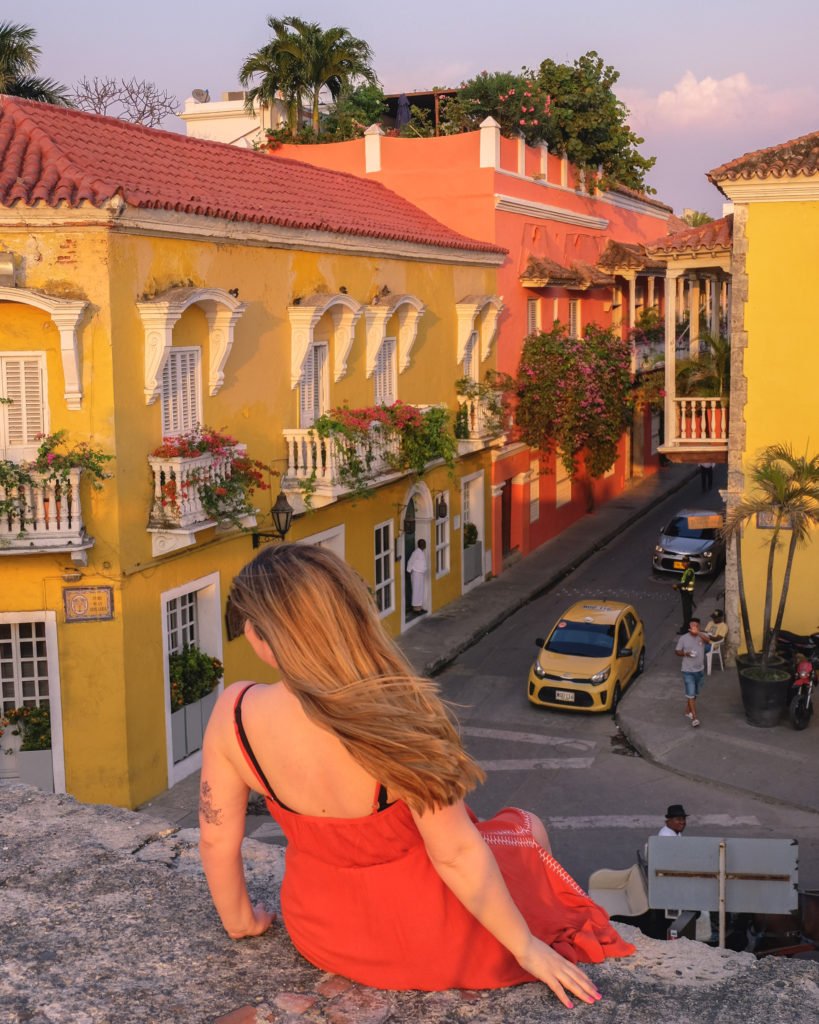
How to take nice pictures using a tripod:
a) Choose the right angle
The beauty of having a tripod is that you can take your time finding the perfect angle for your photo. This is, in fact, the most important step to make sure you get amazing pictures of yourself.
I normally show up early to overcrowded places and experiment with different angles. It will take some practice and experience to get it right from the first time. If you’re just starting out, I recommend trying at least 3-4 different angles until you find your favorite.
When you’re setting up your camera, try to visualize exactly where you will be standing in the picture. Sometimes I use props to see where I should stand exactly before jumping in front of the camera.
b) Don’t pose for the picture
Let’s face it, most of us have no idea how to pose for a picture. A lot of people feel awkward posing and don’t know what to do with themselves with a camera pointing at them. Also, pictures usually look much more natural if you can capture a candid moment.
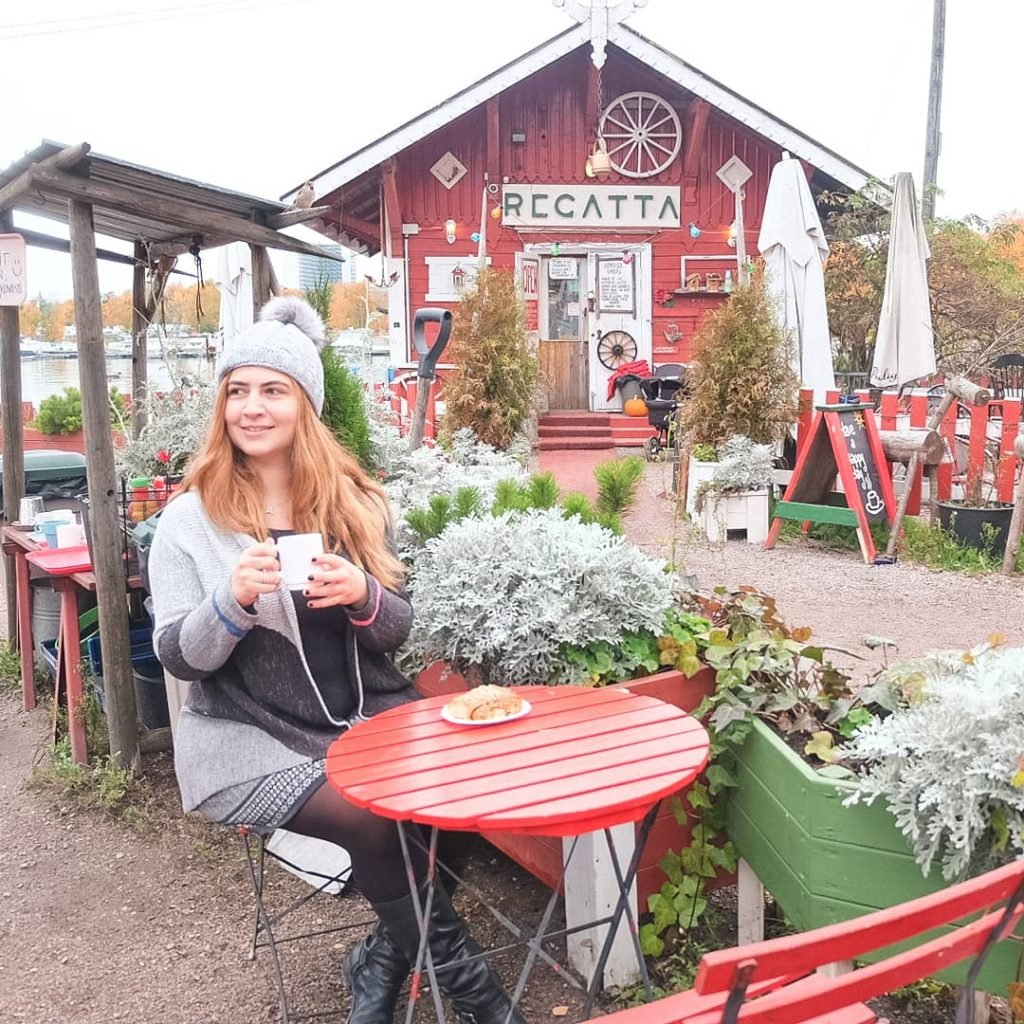
So, what do you do if you’re not supposed to pose? It’s pretty simple actually… act like the camera is not there. Walk, move around and interact with your surroundings.
c) Use the interval timer mode (not a remote)
A lot of bloggers use a remote to capture their photos with a tripod. My preference, however, is to shoot with the interval timer setting. Set up your camera or phone to take a picture every 2-3 seconds (you can normally customize the seconds on every camera). Why? Because as I mentioned above, we want the photo to look natural as if someone captured it while you were walking around.
This setting is different for each device, but you can easily find a guide on how to set it up online. If you’re using your phone, there are lots of free apps you can download. Here’s a list of self-timer apps for iPhone. If you’re using your camera, you can look up this setting online by searching for example “Fujifilm XT-10 interval timer mode”.
d) Find a good tripod
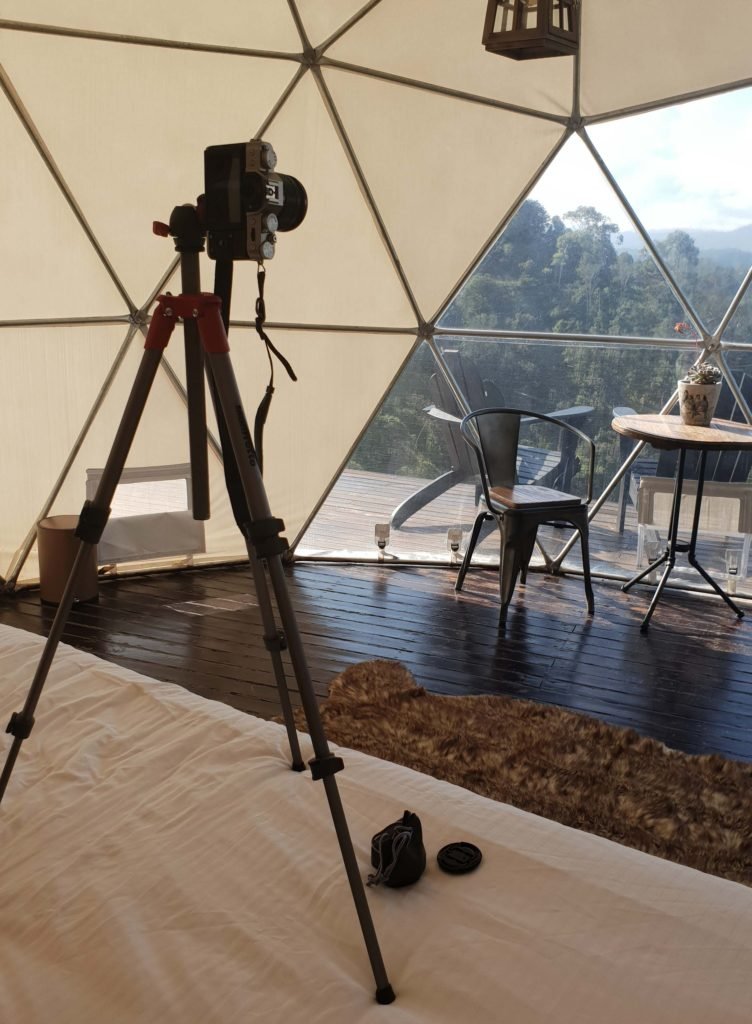
There are a lot of great affordable, lightweight and compact tripods that you can carry in your backpack. You have lots of cheaper options (around $20) that are lighter, but obviously not as heavy-duty as the more expensive ones.
I highly advise you to invest in a good tripod. It’s a one-time purchase that can last you several years. The tripod I use and absolutely love is this: Manfrotto Compact Light Tripod ($60). I can’t recommend it enough!
Tripods below $25:
Premium Tripods:
Tripod safety tips: Some overcrowded cities are not always the safest to set up your tripod. Be cautious with this and if you’re traveling solo, ask another traveler to watch your things when you’re taking photos.
Ask a stranger to take your photo (but read these tips first!)
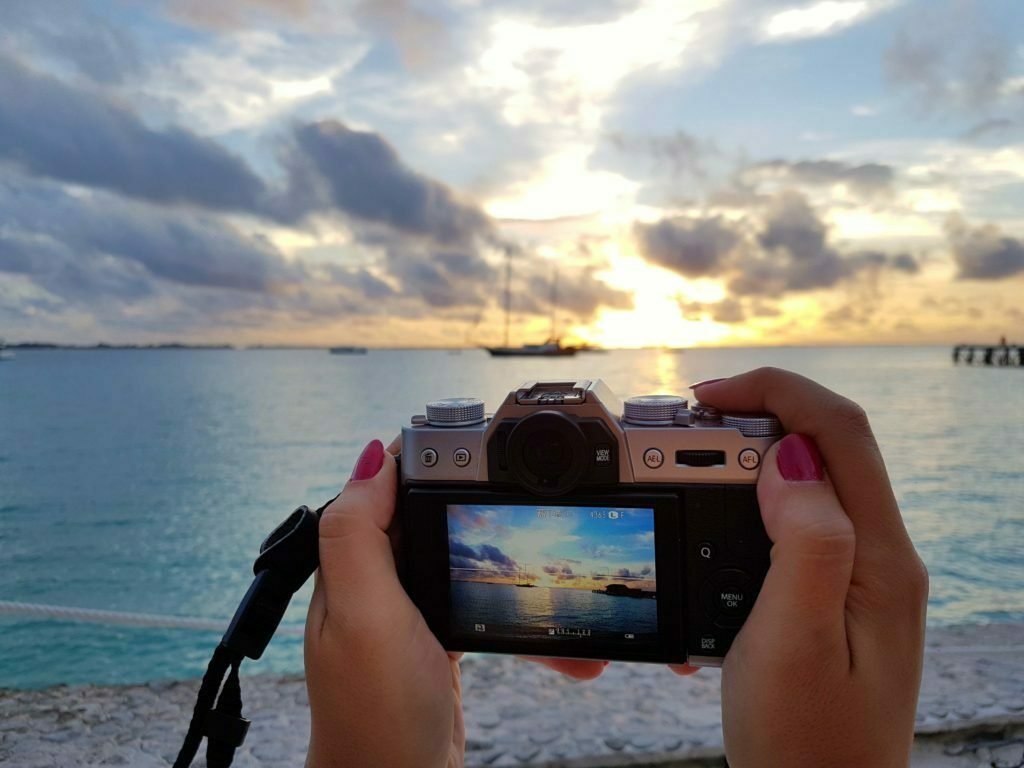
If you don’t want to carry around a tripod, you can ask a stranger to take your picture. But, read these tips first!
a) Don’t just give your camera to a stranger and expect them to capture the right angle. Tell them exactly how you want your picture taken. Example: Mention that you want the landmark behind you to show on your right or left.
b) Tell them not to zoom in. I say this because I’ve had so many incidents where people have zoomed in only on my face when I’m trying to capture the beautiful scenery behind me.
c) Mention to them that you won’t be looking straight at the camera. Some travelers hold the camera and wait for you to look straight at them and smile. It’s good to point out that you will be moving around and not posing.
d) Tell them to take several shots and keep shooting when you’re walking around. I usually tell people to start shooting from the moment I give them the camera till I come back to take it. You can delete unwanted pictures later.
Find the right angle for your Instagram Photo
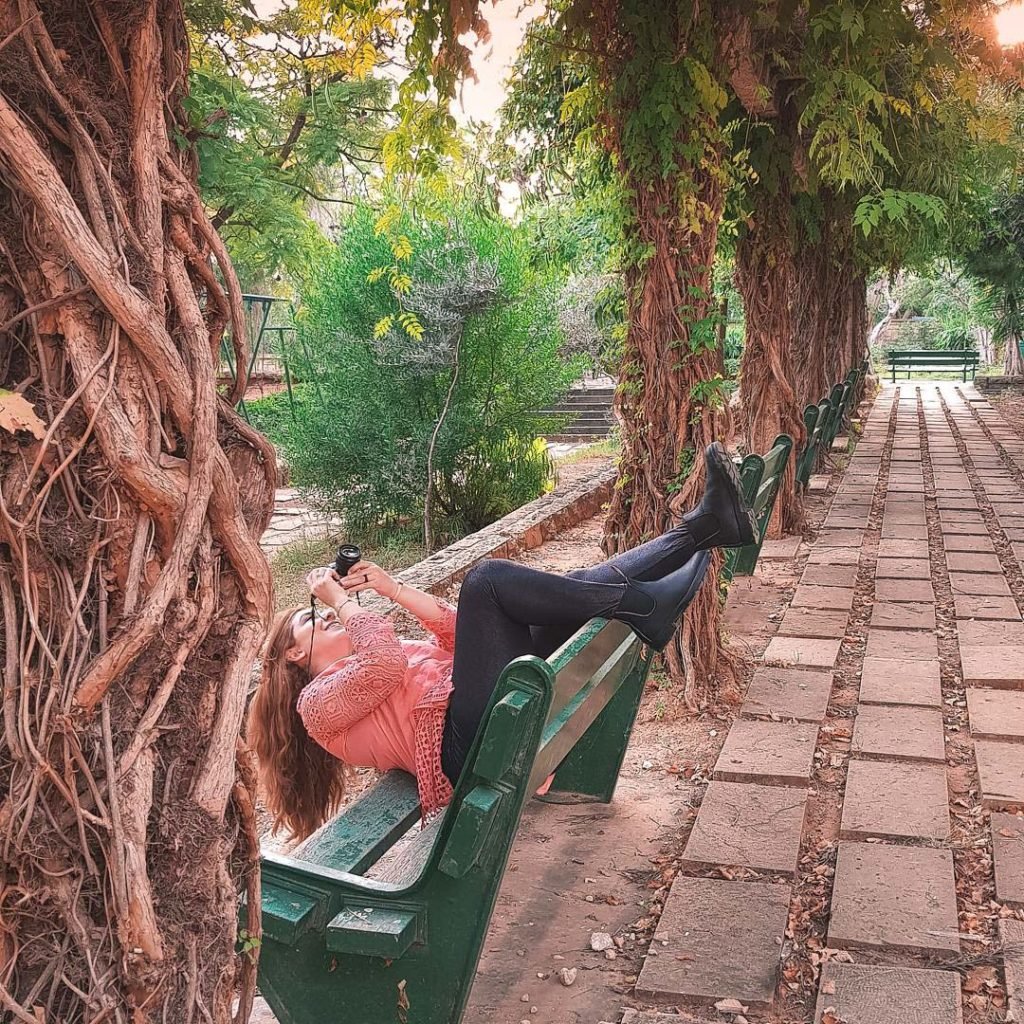
A good angle highly depends on the type of picture you’re trying to take. Fashion shots are very different than landscape travel photos.
It’s great to know a very basic photography rule called the rule of thirds. This is a composition rule to know where and how to place the subject of your photo. Here’s an in-depth guide to the rule of thirds that explains it perfectly.
How to take a good selfie? Keep these tricks in mind: a) Hold the camera slightly above your face and not at the same level b) Hold the camera as far away as possible c) Make sure the lighting is good and flattering. Facing the sun is normally better than having it behind you.
Related Article: How I Get Paid to Travel the World
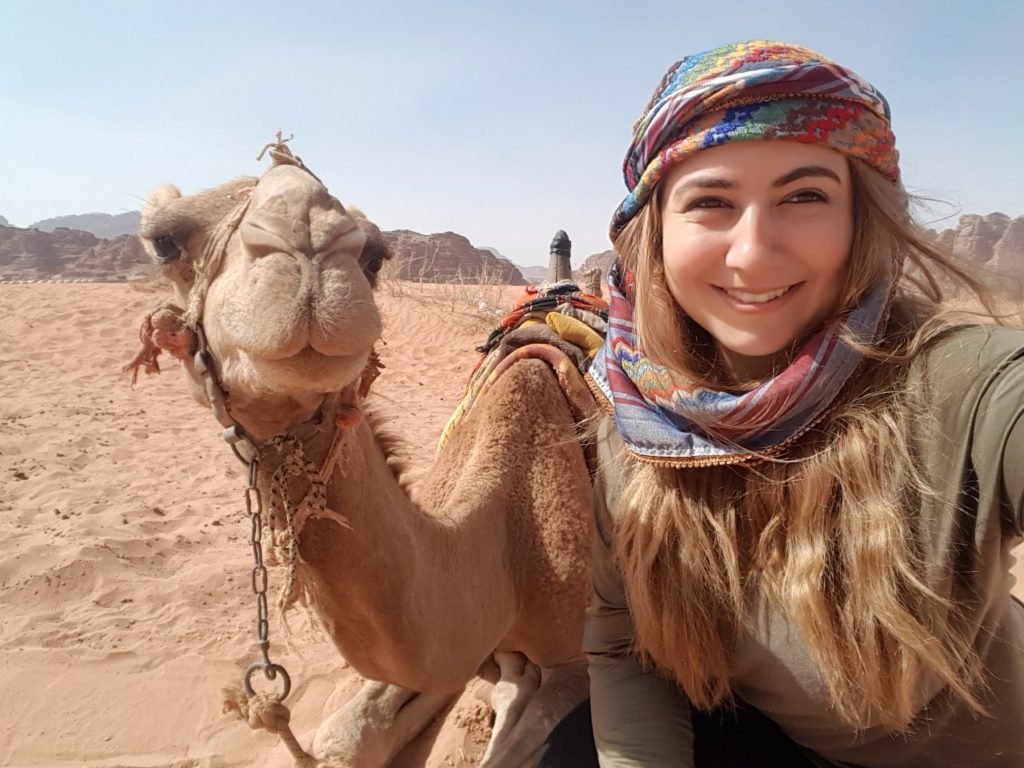
Look for inspiration
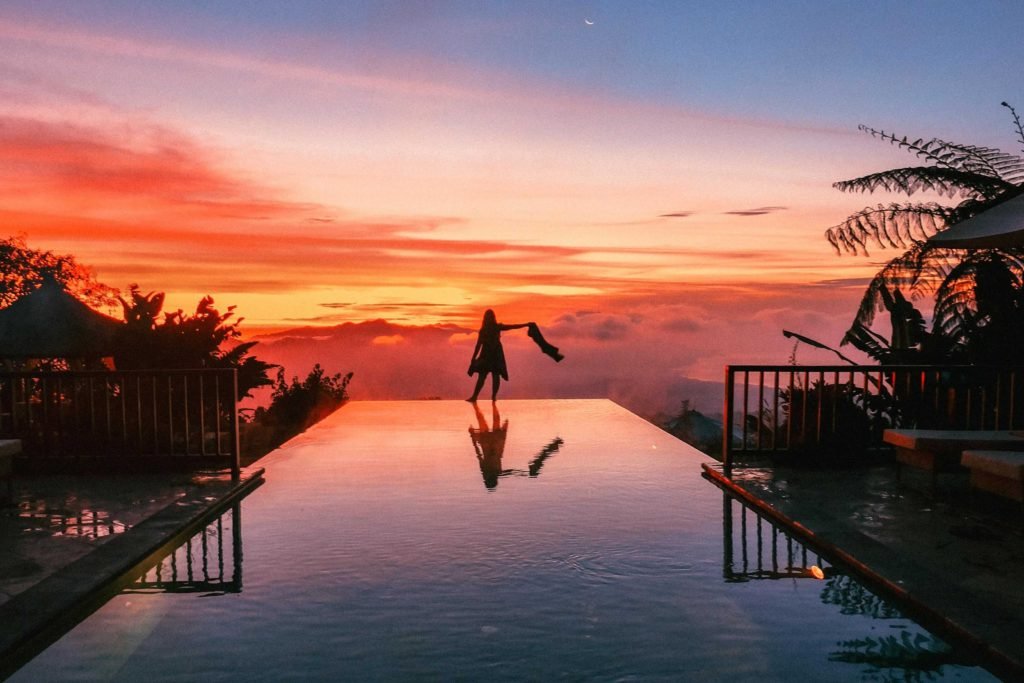
Don’t underestimate the power of doing your research to take good pictures. This is especially true for travel photos.
Instagram is a great place to find some inspiration. You can search for cute Instagram pictures both by using location tags and hashtags. Not only does this help you find some hidden spots, but it can also help with finding the best time to shoot. Some locations look amazing during sunrise or sunset.
I organize the photos I like by saving them on Instagram under different hidden folders by city names. That way whenever I’m visiting a new city, I open that folder (example: “Paris”) and find all the cute spots I want to visit.
Related Article: Solo Female Travel Tips
Show up early to crowded tourist spots
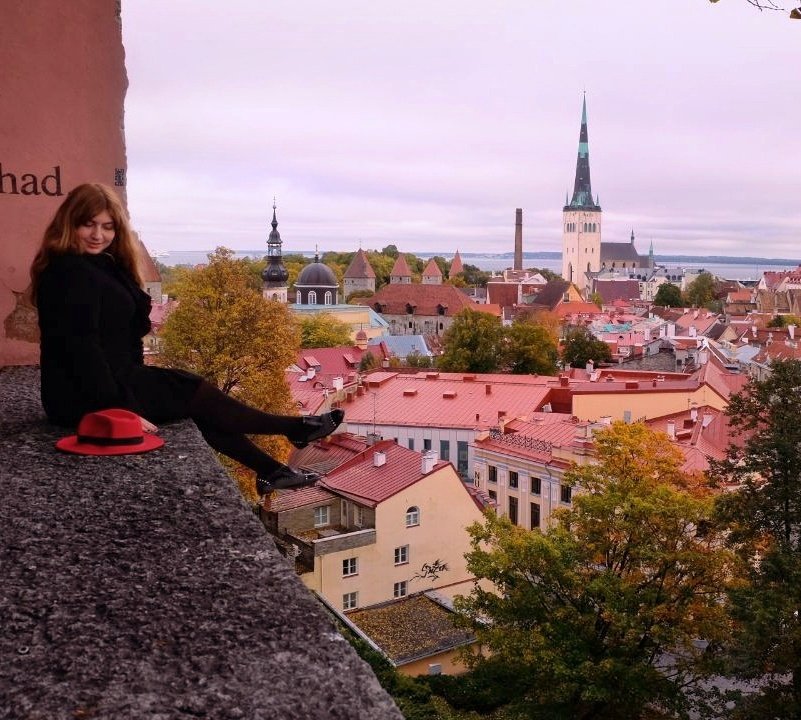
When I say early, I mean you need to be the first one there. I’ve shown up to some very touristy spots 15 minutes before they were even open. There’s nothing worse than having huge tourist groups in the backdrop of your photo.
If you hate waking up early, you can also try your luck right before closing time. Some very overcrowded places are better to visit during the weekdays instead of weekends.
Don’t look at the camera, but smile!
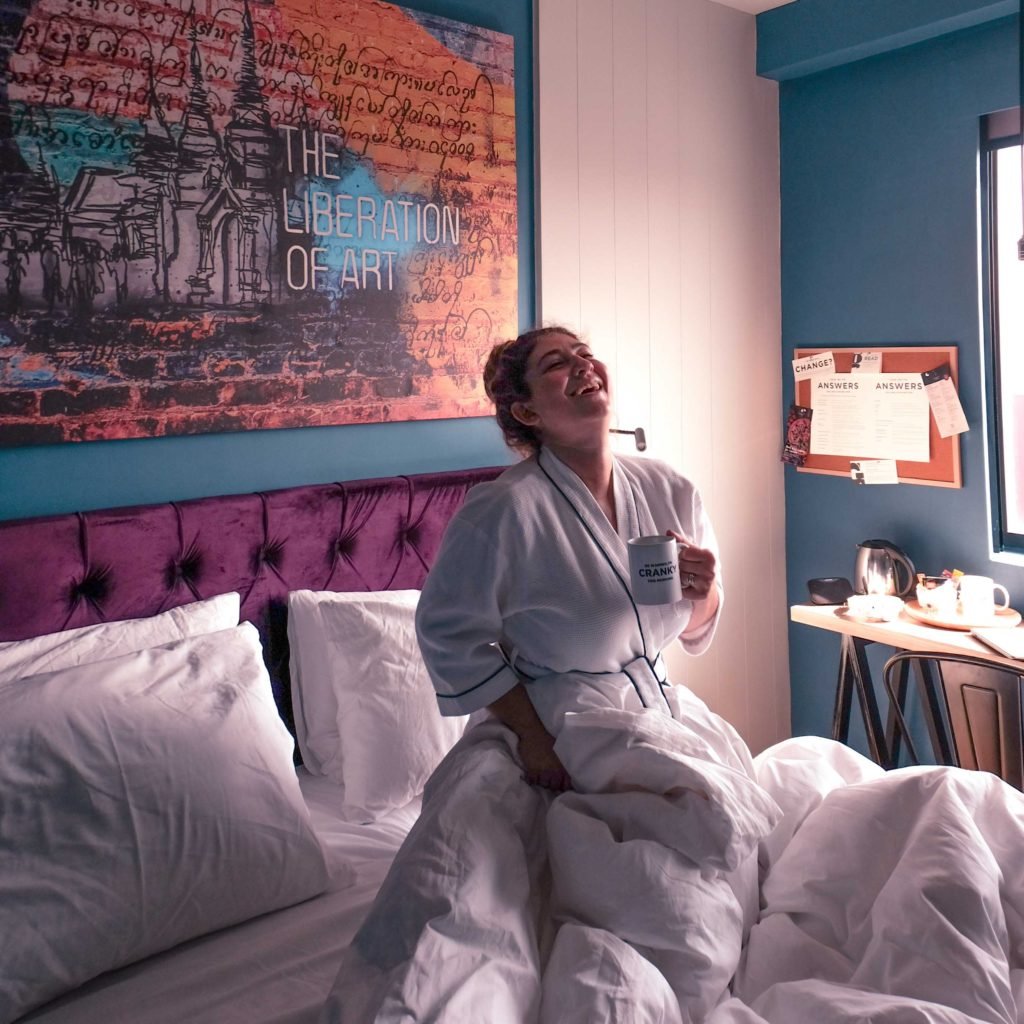
Do you want your photos to look natural? Don’t look at the camera. You’re now wondering… where do I look?! It depends on the scenario, but the best thing to do is to interact with your surroundings.
If there’s a landmark around you, you can look at that. If there are animals or people around you, interact with them. If all else fails, you can play with your hair/dress or use a prop.
Last but not least, don’t forget to smile! I have countless photos where my smiles look a bit fake. As funny as this may sound, to overcome this I sometimes try to laugh out loud so my photos look as candid as possible.
Related Article: How I Afford to Travel Every Month & How You Can Too!
Don’t be shy to take your own Instagram Photos
This is the biggest issue I had to overcome when I started blogging. There’s nothing more awkward than setting up a tripod in the middle of a busy street and jumping in front of it when everyone is staring at you.
How do you overcome this? With time and practice! The first time you try this, it’s completely normal to be shy. The more you practice, the more it will seem natural. I’m happy to say that after traveling solo for so long, I feel completely at ease in front of the camera now. When people start staring and wondering what I’m doing, I give them a big smile and say hello instead of feeling shy.
Use the right camera
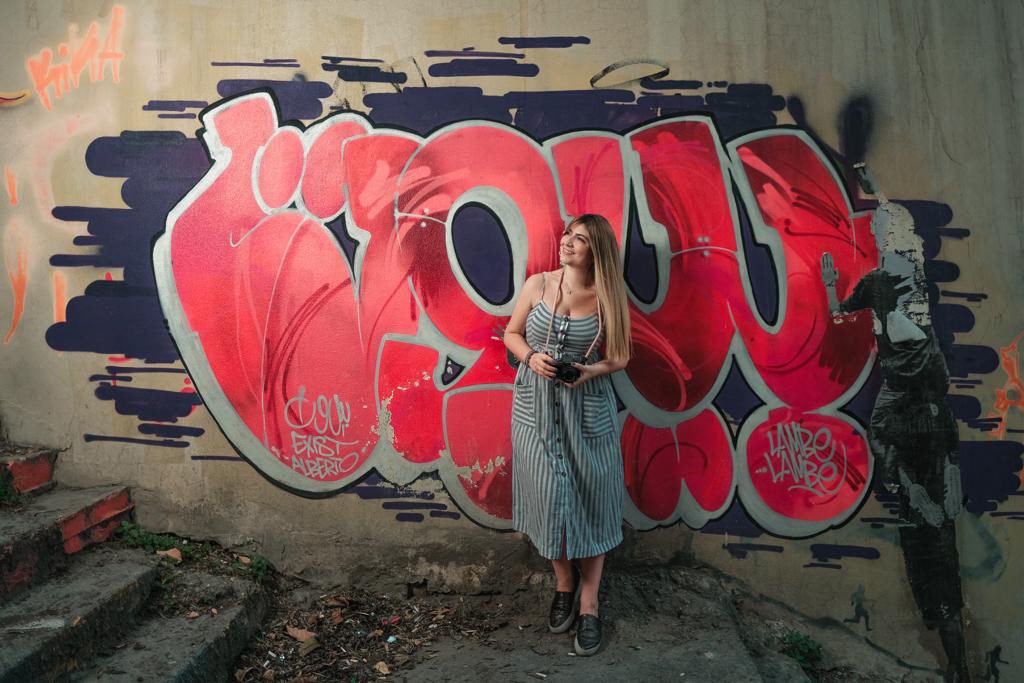
Smartphones have become so advanced these days, that a lot of people prefer to take photos with their phones. However, if you want to take your photography to the next level, you need a good camera.
List of great cameras:
a) Mirrorless Camera: Fujifilm X-T10
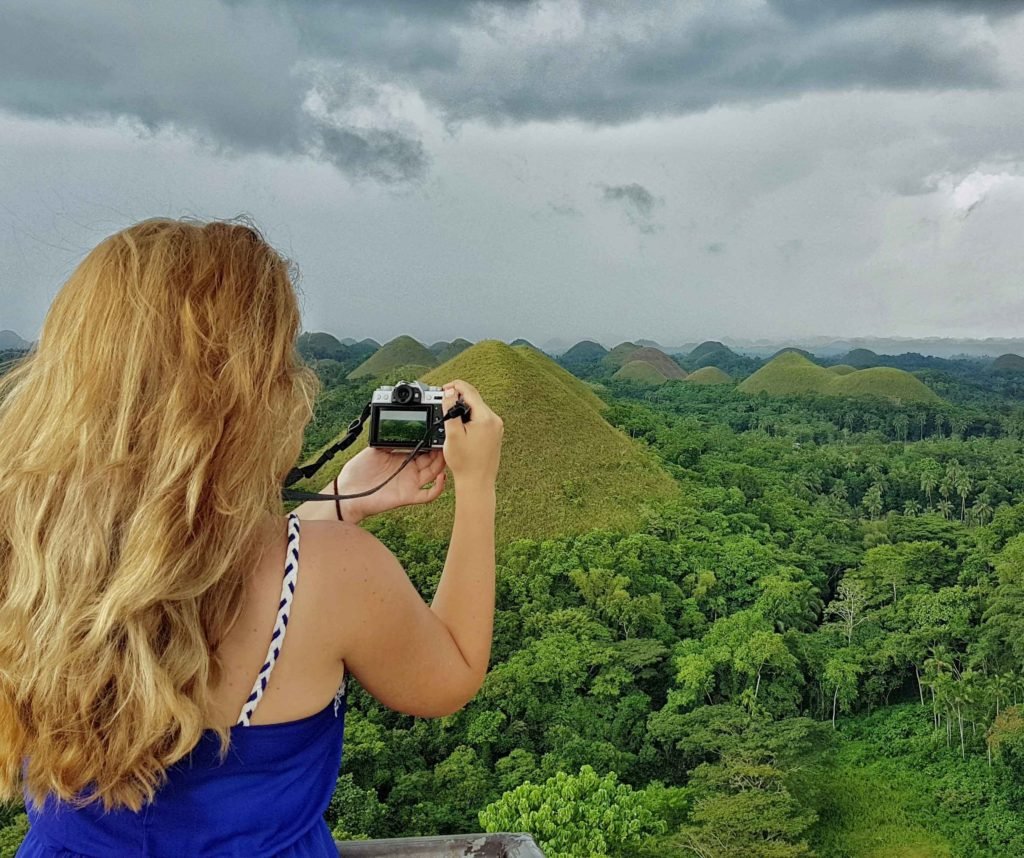
I’ve been using the Fujifilm X-T10 as my travel camera since I started blogging and I can’t recommend it enough! It’s compact, lightweight with amazing features and interchangeable lenses. Another plus is that it looks like an old vintage camera.
With all the awesome camera functions that the Fujifilm X-Series has, it’s relatively affordable compared to other similar brands.
Click below to find some great deals on the Fujifilm X-Series cameras:
b) GoPro
The GoPro is tiny, but has some amazing features, especially for adventure travel. It can take some wide-angle shots and videos like no other compact camera. It’s also waterproof and shockproof, which makes it so versatile.
I use my GoPro mainly for action shots or underwater photos. You can, however, also use it to take pictures of yourself with the selfie stick or tripod.
Click below for great deals on GoPro bundles:
c) Drone

Nothing looks prettier than aerial shots of beautiful travel destinations. There is a huge range of drones out there with different prices, but it’s best to invest in a good one to get the quality and functionality that you need. The cheaper ones are cheaper for a reason and don’t have all the features you can find in a good drone.
The best brand out there, especially for travel drones, is DJI. They have a very good compact and lightweight ones that you can pack easily in your carry-on. Prices range from $400 to over $1,000 and I recommend buying the extra accessories (like extra batteries) to ensure enough flight time during your photoshoots.
Click here for the best DJI drones for travel photos:
Learn how to properly use your camera
Every camera is different. If you’ve invested in a good camera, it probably has some amazing features you’re not even aware of. Study all the settings on your camera by watching some tutorials online. Look up your exact camera model and learn from the experts.
You can also visit brand websites depending on your camera model and read tutorials and blogs.
Learn how to edit your own photos
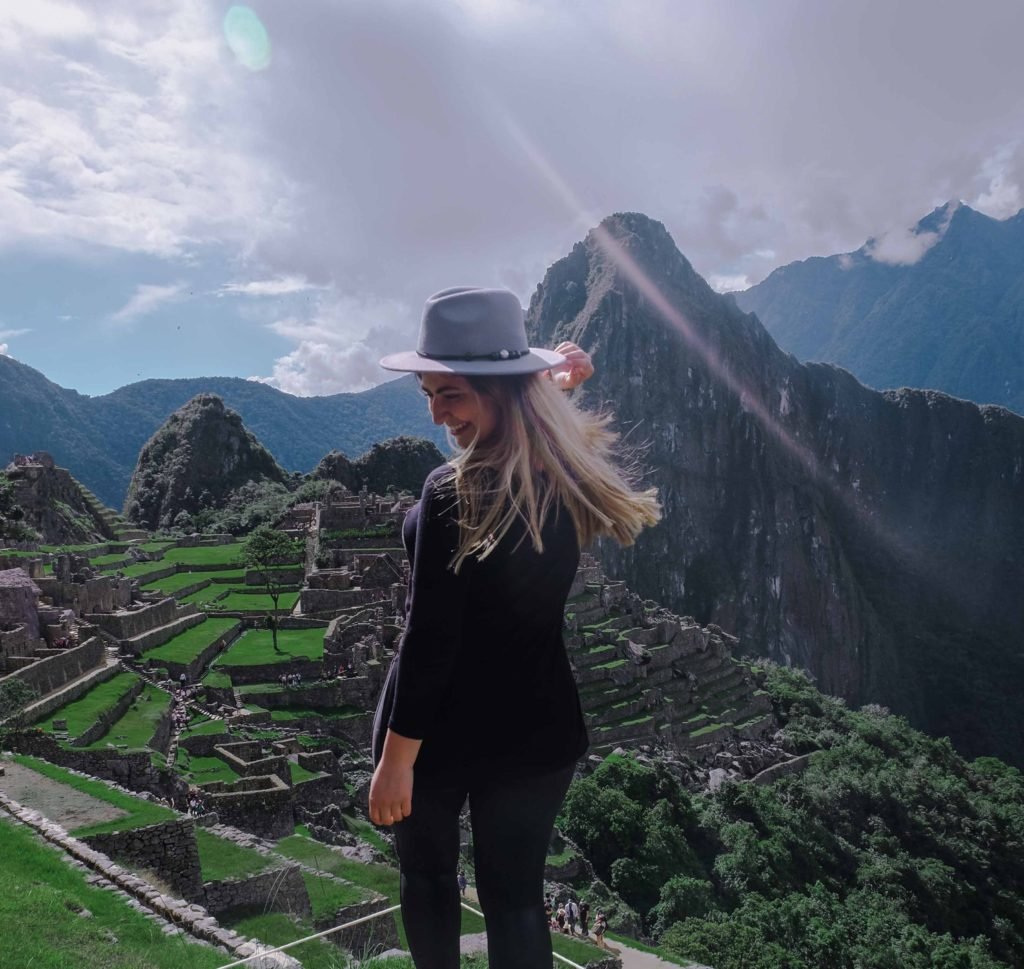
Editing can do wonders for your photos. If you learn how to edit properly, you can make even the most regular photo look magical.
I’m personally against changing pictures too much and I never add things (like clouds or birds for example) that weren’t originally there. My objective is to show what I place is really like with minor tweaks to make my photos pop.
I use Adobe Lightroom to edit my photos, which is basically a simplified version of Adobe Photoshop. Lightroom is perfect to edit Instagram pics and you don’t need any other tools. Photoshop is used by a lot of designers with much more advanced tools that you rarely need to edit pictures.
The best way to learn how to edit photos is: 1) Watch tutorials online 2) Ask for advice and tips from content creators 3) Practice, practice, practice to see what works for you.
Every person has a different style and feel, so the goal is to find what fits your personal taste. This will not happen overnight and the best thing to do is experiment until you develop your own style.
Photo editing tutorials:
Here are some great Adobe Lightroom tutorials: 35 Incredibly Useful Adobe Lightroom Tutorials, Lightroom Tutorial for Beginners – Overview of EVERYTHING in 15 mins, Lightroom CC For Beginners – Full FREE Training Course 38 mins.
Adobe Lightroom presets:
If you want a jumpstart, you can purchase something called “Lightroom Presets”. These are similar to “filters” that you find on Instagram. They are created by photographers or influencers with their own editing styles. You can purchase them online from your favorite bloggers and upload them to your Lightroom.
Even if you use presets, you still have to weak the individual photos to make sure they look natural. You can’t expect to simply apply presets to several types of photos and instantly get beautiful results. Every picture has different lighting and colors, so make sure to adjust them to fit your style.
Editing photos on your phone:
Adobe Lightroom also has a mobile version that is perfect to edit your photos on the go. It’s important to mention that the mobile version does not have all the functions of the desktop version, but if you create your own presets, you can easily use them on your phone.
Download the Adobe Lightroom Mobile version here: Apple Android
Another simpler photo editing app for beginners is Snapseed. This is how I initially started to edit a few years ago before I learned how to use Lightroom.
Download Snapseed here: Apple Android
Editing mistakes to avoid:
a) As I mentioned above, don’t make drastic changes to photos. Adding objects that were not there or playing too much with colors will make your picture look staged. That’s the last thing you want! Editing is supposed to enhance photos and not portray an untrue image of whatever you are showing in your picture.
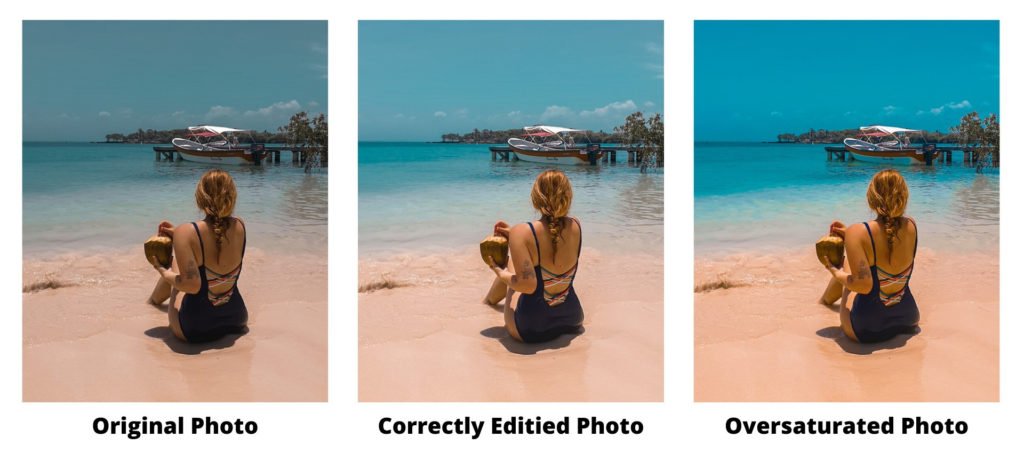
b) Don’t oversaturate the colors. The saturation feature makes the colors in your photo pop. It’s good to add some saturation, especially in outdoor shots, but don’t overdo it to an extent that the colors look unnatural. The best example: if you have a photo of a beautiful beach, you can up the saturation to make the water look a bit bluer. A lot of people oversaturate this and the beach just doesn’t look real anymore.
c) Overcropping is another common mistake. Sometimes cropping out too much of the “negative space” (example: the sky, the ground) can make your photo look claustrophobic. Follow the basic “rule of thirds” that I mentioned before to crop your photos with the correct composition.
d) This is going to sound strange, but don’t use the common filters on Instagram or editing apps. More often than not, these filters drastically change the HDR (high dynamic range) of the photos. This means that the highlights and shadows in the photo will not look natural.
e) There are 2 modes to shoot photos: JPEG and RAW. Smartphones shoot all photos in JPEG mode and cameras have both JPEG and RAW available. Make sure you adjust your camera setting to shoot in RAW to get better and higher quality photos after editing. Here’s a brief explanation of the difference: 10 Reasons Why You Should Be Shooting RAW
Questions?
If you have any questions, add me on Instagram: @thejetsetterdiaries and drop me a message. I’ll be happy to answer as many questions as possible.

